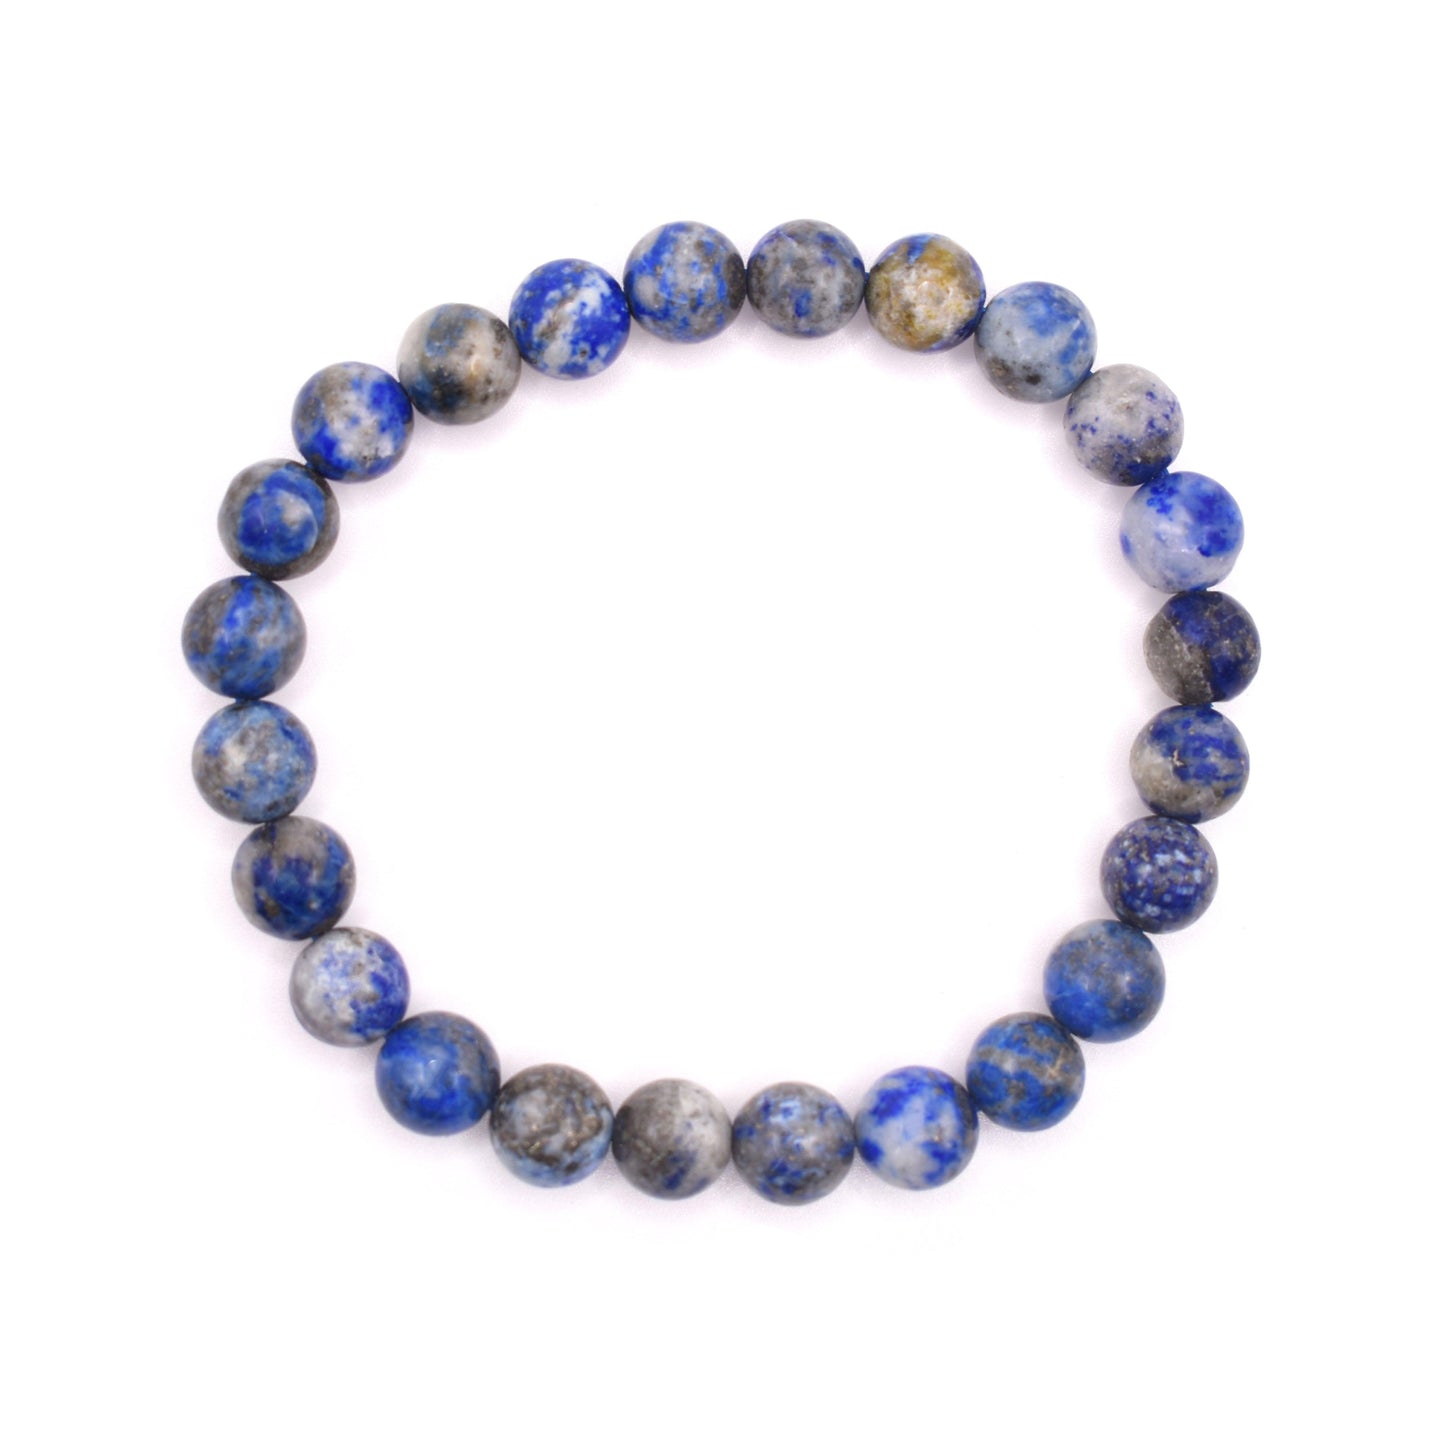
How to Make Beaded Bracelets with Adjustable Cord: A Step-by-Step Guide
Partager
Beads, Bracelets, and the Adjustable Sizing
Let's face it, finding that elusive "perfect fit" bracelet can be an exercise in frustration. Too tight, too loose, always that little bit off. But what if you could break free from the tyranny of pre-set sizes and craft your own beautiful beaded bracelets that adjust to your wrist like magic?
Gather Your Materials (and Beads, and Cord...)
First, assemble your tools:
- Cord: This is your bracelet's foundation. Satin offers a silky touch, waxed cotton is sturdy, and nylon comes in a rainbow of colors. Opt for around 1mm thickness for ideal ease of beading and durability.
- Beads: Glass, crystal, natural wood, tiny seed beads…let your imagination run wild! Play with colors, textures, and sizes. Just make sure the bead holes fit your chosen cord. For a touch of energy and grounding, consider adding a red jasper bracelet bead.
- Scissors: Sharp are best. Nobody needs frayed cord frustrations.
- Lighter or Fray Preventative: (Optional) If you want super-neat cord ends.
- Optional Embellishments: Charms, accent beads, even a fancy button can add extra personality.
The Secret Lies in the Sliding Knot
This is where your bracelet finds its adjustability superpower:
- Measure & Bead: Cut a generous length of cord – we'll trim later. Now, unleash your beading brilliance! String those beauties in any pattern you adore.
- Knot #1: Leave a tail of a few inches of cord on each side of your beads. Tie a simple overhand knot close to the last bead on one side.
- The Loop-de-Loop: Take the loose ends and overlap them. Form a loop with one end (like the start of tying your shoes) and bring the other end over, through, and back up that loop.
- Repeat & Tighten: Do the same looping with the opposite end. Pull until snug – congrats, you've conquered your first sliding knot! Make another on the other side of your beads.
Putting Those Knots to Work
- Open Wide: Slide your knots away from each other to expand the bracelet to its largest size. Now it can easily slip over your hand.
- Custom Fit: To cinch the bracelet into place, just slide the knots toward each other until it feels snug and comfortable. Voila! A fit that changes with you.
- Finishing Touches: Trim the excess cord, leaving a little length for maneuvering. You can neatly seal the ends with a flame (carefully!) or fray adhesive for a professional look.
Beyond the Basic: Design Explorations
The beauty of adjustable bracelets lies in endless customization. Unleash your creativity:
- Mix & Match Materials: Rustic wood beads, sparkling faceted stones, a hint of silver – explore texture clashes and complementary combos. You might even want to try incorporating a red jasper adjustable bracelet for a pop of color and meaning.
- Charms of Personality: Add charms that hold meaning for you; lucky symbols, initials, reminders of places you love.
- Button Closure Upgrade (No Snagging!): Sew a cute button on one end. Create a loop with the other cord end for the button to slip through. Stylish and secure!
- Gift with Extra Love: Handmade adjustable bracelets show thoughtfulness. Package yours with care for a personalized present guaranteed to be treasured.
Embrace the Beading Journey
Making adjustable bracelets is a fantastic way to unwind and let your creative spirit take flight. Take your time, relax, and most importantly, have fun! Here are some extra tips for a fantastic beading session:
- Workspace Matters: Find a comfy spot with good lighting. Spread out your materials, you don't want to chase runaway beads!
- Bead Inspiration: Stuck for ideas? Hit up Pinterest, craft blogs, or even jewelry stores for a little visual brainstorming.
- No Pressure: Perfection isn't the goal. It's all about the joy of creating and rocking your custom-made masterpieces!
Let me know if you'd like more ideas, fancier knotting techniques, or troubleshooting advice. Happy beading, fellow jewelry enthusiasts!
FAQS:
-
Q: What are the best types of cord for adjustable bracelets?
- A: Satin, waxed cotton, and nylon are all popular choices. Consider durability, desired thickness, and the look you want to achieve.
-
Q: Can I use any type of beads on an adjustable bracelet?
- A: As long as the bead holes are large enough to accommodate your cord, you have lots of freedom! Glass, stone, wood, and smaller seed beads all work well.
-
Q: My sliding knots feel too loose/too tight. Help!
- A: If too loose, re-tie the knots, this time creating smaller loops and pulling them tightly. If too tight, carefully work a needle or toothpick into the knot to gently loosen the coils.
-
Q: My bracelet cord ends look messy. What can I do?
- A: For a neat finish, try carefully trimming the excess cord and briefly passing a lighter flame (or applying fray glue) to seal the ends.
-
Q: How can I personalize my adjustable bracelets?
- A: Add charms with special meaning, mix and match bead textures, or try a button closure instead of sliding knots for a different look.
-
Q: Can I make adjustable bracelets for different wrist sizes?
- A: Absolutely! Start with a longer piece of cord for larger wrists or a shorter length for smaller ones. The adjustability ensures the perfect fit!


